 how-to
How to Prevent Builder Gel from Lifting at Home
Quick Summary
To prevent builder gel lifting, prep the natural nail thoroughly before any gel touches it, then apply thin, capped layers and cure each one fully. Most lifting starts before the gel is applied, because oil, dust, dead skin and moisture block bonding.
- File the free edge with a 180-grit file, since over-filing thins the nail and makes lifting more likely.
- Remove leftover cuticle, because it is a common hidden cause of cuticle-area lifting.
- Apply dehydrator and let it flash off until the plate looks chalky-dry, not wet.
- Build product in thin coats and cap the free edge by running the brush along the tip.
- Keep gel off the cuticle and cure fully, since under-cured gel is soft and lifts easily.
Table of Contents
- Prep the Natural Nail to Prevent Builder Gel Lifting
- Apply Builder Gel to Avoid Builder Gel Lifting at the Free Edge
- Keep the Gel Off the Cuticle and Address Builder Gel Lifting at Home
- Frequently Asked Questions
Prep the Natural Nail to Prevent Builder Gel Lifting
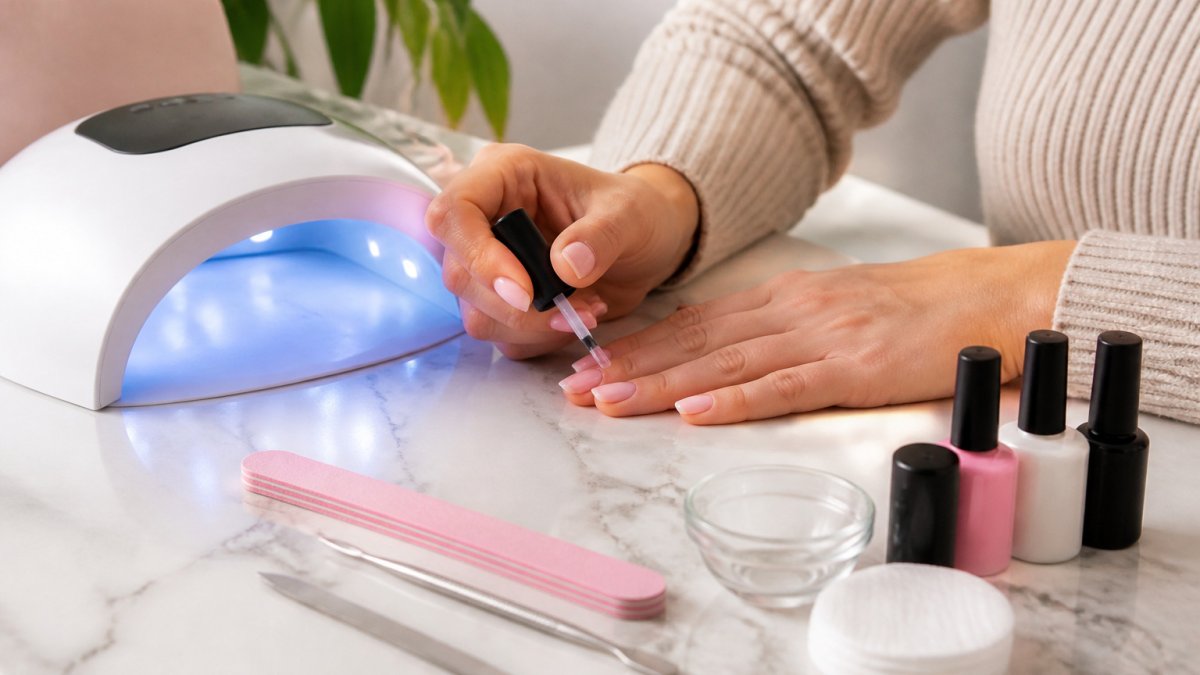
Most builder gel lifting starts before the gel touches the nail: oil, dust, and dead skin block bonding. Prep is a sequence, and skipping any step leaves a weak layer between nail and gel.
Work through the plate in this order:
- Remove old product and shape the natural nail. File the free edge with a 180-grit file; over-filing thins the nail and makes it more likely to lift.
- Push back the cuticle gently with an orange-wood stick. Lift it off the plate in small arcs rather than digging.
- Remove dead skin and cuticle remnants. Leftover cuticle is a common hidden cause of cuticle-area lifting.
- Scrub the plate with a lint-free wipe and nail cleanser. Wipe cuticle to free edge in one direction, changing the wipe face between nails.
- Apply a dehydrator and let it flash off. The plate should look chalky-dry, not wet, before the next step.
- Apply a thin bonding layer or base and cure it fully. It must be thin and even to bridge natural nail and builder.
Skipping the dehydrator is a common prep mistake, and moisture left on the plate can contribute to lifting.
Prep should match the product system, since mixing products from different lines can affect adhesion.
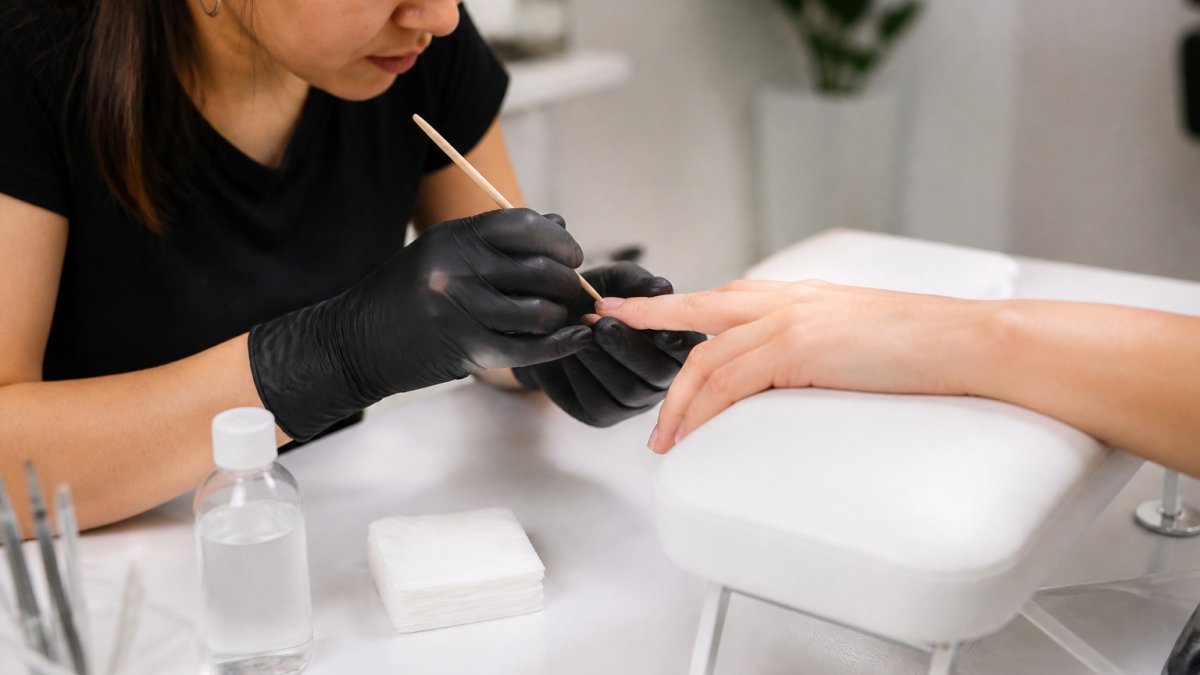
Our Sensational Rubber Base is designed as a foundation for structured manicures; prep, wipe with 100% acetone, and apply it for a smooth, resilient base.

The prep sequence below is the step-by-step routine the article recommends before any gel touches the nail.
| Step | What to do | Time or frequency |
|---|---|---|
| File free edge | Use a 180-grit file | Not specified |
| Push back cuticle | Use an orange-wood stick in small arcs | Not specified |
| Remove dead skin | Clear cuticle remnants | Not specified |
| Scrub plate | Wipe with lint-free wipe and nail cleanser | Change wipe face between nails |
| Dehydrate | Apply and let flash off until chalky-dry | Before next step |
| Bonding layer | Apply thin, even base and cure fully | Cure fully |
Apply Builder Gel to Avoid Builder Gel Lifting at the Free Edge
Free-edge lifting is the most common failure: the gel shrinks as it cures and pulls away from an exposed tip.
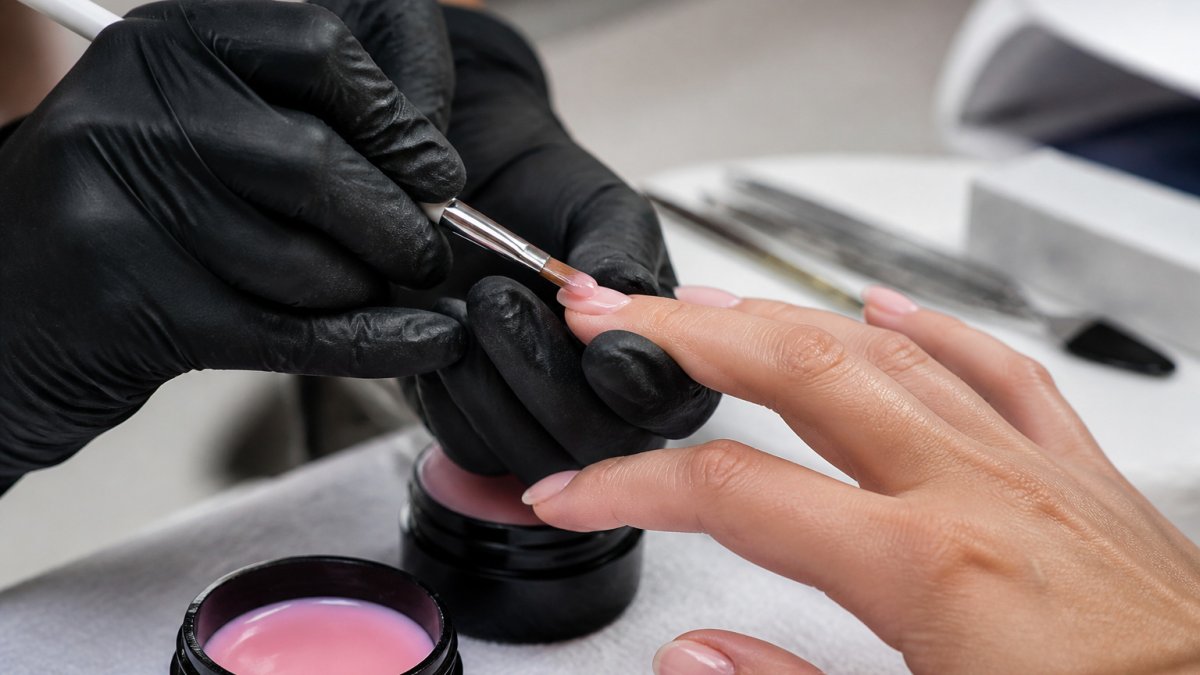
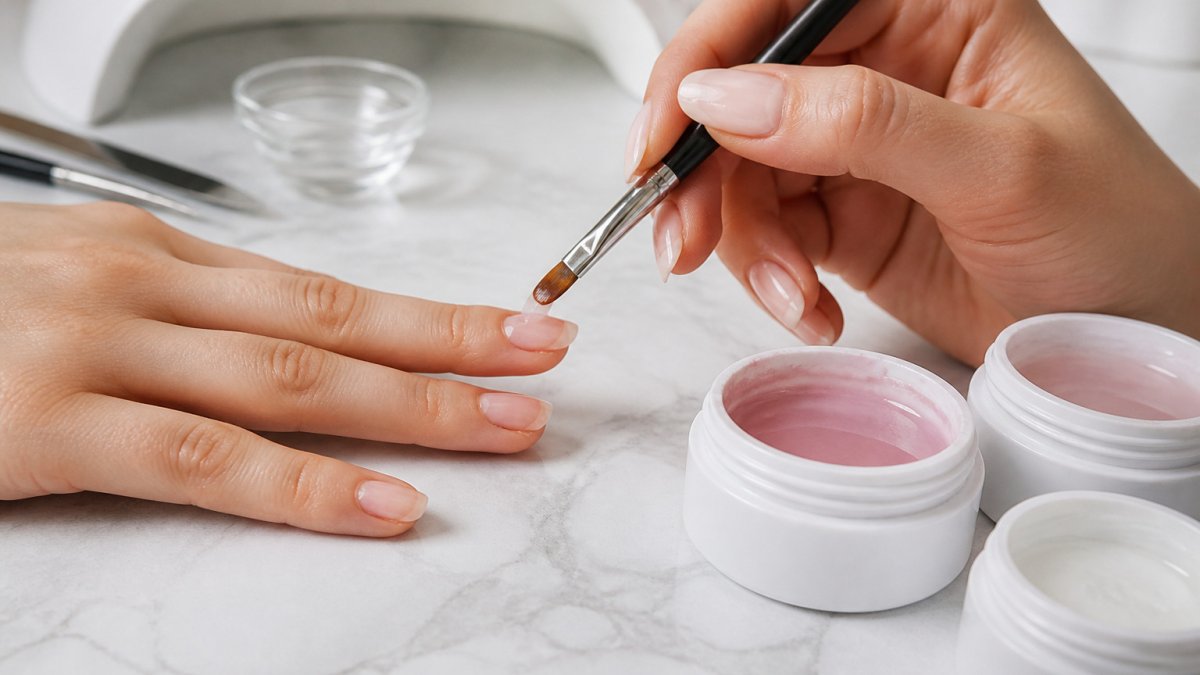
Apply a thin layer first, then cap the free edge by running the brush along the tip.
Thick layers can cure unevenly, so building product in thin coats is a sound approach.
Our Infallible Bottled builder needs no primer. See How Do You Apply Builder Gel Smoothly? and Builder Gel Smooth Application Tips: Step-by-Step Guide.

Keep the Gel Off the Cuticle and Address Builder Gel Lifting at Home
Gel touching the cuticle or skin cannot bond and lifts outward from that point. Keep a small gap and clean up flooded sidewalls before curing.
Check the cure fully before filing or wearing: under-cured gel is soft and lifts easily. The Cordless Pro Cure Lamp delivers professional-grade performance with an 86-watt output.

When lifting appears, the pattern tells you where to look:
- Cuticle-area lifting: prep, cuticle left on the plate, oil not removed, or flooding onto skin.
- Sidewall lifting: product too close to sidewalls, or a curved nail the gel did not wrap.
- Free-edge lifting: tip not capped, layer too thick, or impact.
- Whole-nail lifting: under-curing, a mismatched lamp, or incompatible base and builder.
If you notice lifting early, avoid picking at it.
- Small, dry edge lift: file it away, re-prep, and rebuild; never seal over a lifted edge.
- Lift reaching cuticle or sidewall, or any lift with moisture, redness, or odor: remove the product, let the nail recover, and reapply only when healthy.
- Lift you can feel but not see: do not force a file under it; remove and start fresh.
Treat the first 24 hours after repair as highest-risk: wear gloves for dishes and cleaning, avoid using nails as tools, and cap the free edge next application.
Frequently Asked Questions
How do I get my builder gel to stop lifting?
Lifting usually traces back to prep or application rather than the product alone. Start by removing oil, dust, and dead skin from the nail plate, then dehydrate and apply a thin bonding layer. Build the gel in thin layers, cap the free edge, and cure fully according to the lamp and gel instructions. If lifting has already started, file the lifted area smooth and reapply gel to the lifted spot after prep rather than painting over it.
Why is my builder gel peeling off at the cuticle?
Gel that touches the cuticle or sidewalls often peels because it has no solid surface to bond to. Keep product a few millimeters away from the skin, remove any dead skin before application, and avoid overloading the cuticle area with product. Cleaning up excess gel with a brush before curing helps keep the edge clean and reduces lifting near the skin.
Can water or oil cause builder gel to lift?
Yes. Oil and moisture left on the nail plate prevent builder gel from bonding properly, and water exposure soon after a manicure can push a weak edge loose. Wipe the nail with a nail cleanser after filing, and use a dehydrator before the base coat. Avoid long soaks or hot water for the first day or two while the gel fully sets.