how-to
How to Apply Self-Leveling Builder Gel as a Beginner
Last Updated: October 30, 2026
Quick Summary
Self-leveling builder gel is a thick gel that settles into an even layer on the nail and adds strength and length. Beginners apply it in thin layers over a base coat, cure each layer under a matching lamp, and let gravity smooth the surface.
- Builder gel is thicker than gel polish and is used to add strength and length.
- Prep with cuticle pushing, light buffing and a dehydrator before applying any product.
- Apply thin layers, because too much product at once can pool at the cuticle or sag.
- Match your lamp to the gel's stated wavelength and confirm each layer is fully cured.
- Keep uncured gel off your skin, and wipe it away immediately if it touches your cuticles.
Table of Contents
- What Self-Leveling Builder Gel Is and How It Differs from Gel Polish
- Gather Your Tools and Products Before You Start
- How to Apply Builder Gel at Home: Prep, Base Coat and Thin Layers
- Builder Gel Curing Time and Avoiding Beginner Mistakes
- Booking a Fitting Or Stocking Your Next Builder Gel Kit at Nail Flight
- Frequently Asked Questions
What Self-Leveling Builder Gel Is and How It Differs from Gel Polish
Self-leveling builder gel is a thick, structured gel that flows slowly and settles into an even, smooth layer on the nail.
Here's the practical comparison:
| Feature | Builder Gel | Gel Polish |
|---|---|---|
| Main job | Adds strength and length | Adds color and shine |
| Texture | Thick, self-leveling | Thin, liquid |
| Typical use | Overlays, extensions, repairs | Color coats over the natural nail |
| Beginner difficulty | Moderate, needs practice | Easier to start with |
Many beginners start with gel polish, then move to builder gel once they want more strength.
Self-leveling means the gel relaxes and flattens after you place it. You still need to guide it, but gravity does much of the smoothing work.
Gather Your Tools and Products Before You Start
Having everything ready before you begin keeps the process calm and clean. Beginners who stop halfway to hunt for a file or lamp often find the gel has set in the wrong place.
Gather these basics:
- A base coat made for builder gel
- Self-leveling builder gel in a clear or sheer shade
- A nail brush or applicator for placing the gel
- A nail file and buffer for shaping and smoothing
- A cuticle pusher for gentle cuticle care
- A dehydrator or nail cleanser to remove oils
- A UV or LED lamp that matches your gel's cure instructions
For the base coat, the Sensational Rubber Base is engineered to prevent lifting and offers superior adhesion, making it a suitable foundation for builder gel work. The Cordless Pro Cure Lamp is designed for portability with a built-in handle, so it can be used away from a salon setup.


Watch out: Don't skip the dehydrator. Oil on the nail can interfere with adhesion, so take the extra minute to clean the nail plate.
How to Apply Builder Gel at Home: Prep, Base Coat and Thin Layers
Good results start with prep, then a thin base, then thin layers of builder gel.

Here is the basic sequence:
- Push back and gently trim the cuticles.
- Lightly buff the nail surface to remove shine.
- Wipe the nail with a dehydrator or cleanser.
- Apply a thin layer of base coat and cure it.
- Apply a thin layer of builder gel, cure it, and repeat as needed.
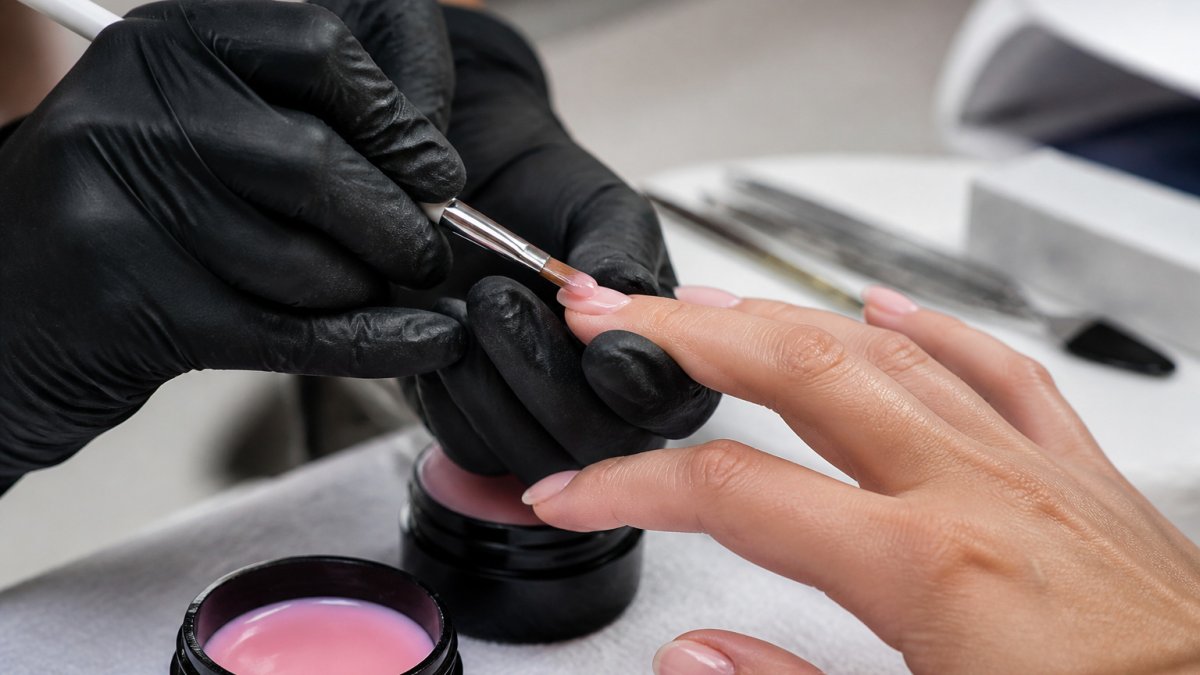
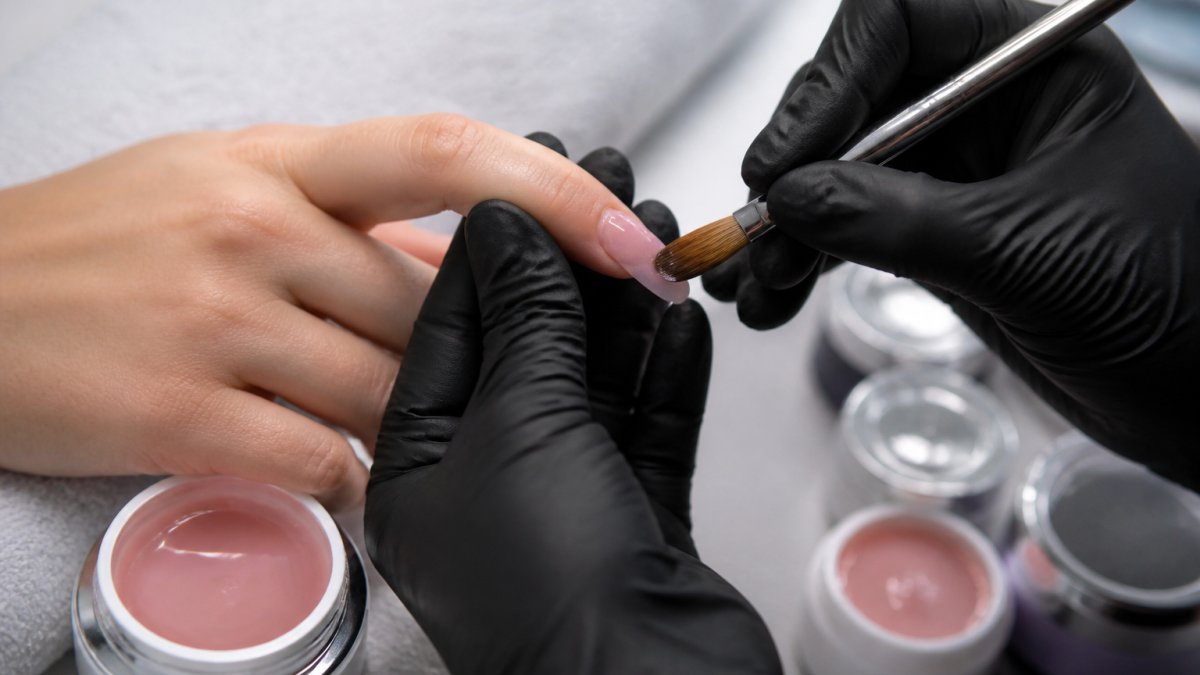
Here's what a typical session looks like:
!Close-up of a beginner's hands at a home table, gently applying clear builder gel to a natural nail with a brush, with a bottle, base coat and lamp nearby
A good first session is one where the gel goes on smooth and stays on. Thin is better than thick: too much product at once can pool at the cuticle or sag on the sides.
Watching a short tutorial before you start can help. Pay attention to how the brush loads the gel and how little product you need per stroke.
Builder Gel Nail Prep: Cuticles, Buffing and Dehydrating
Prep matters for adhesion. Clean, lightly buffed nails help builder gel hold better.
Gently push back the cuticle with a cuticle pusher. Then buff the surface lightly to remove the shine.
Finish with a dehydrator. Wipe each nail once, then avoid touching the surface with your fingers. Skin oils can undo the prep in seconds.
Here is a quick prep checklist:
- Cuticles pushed back, not cut
- Surface lightly buffed to remove shine
- Nail wiped clean of dust
- Dehydrator applied and left to dry
- Fingers kept off the nail surface
Placing the Apex and Using Gravity to Self-Level
The apex is the highest point of the gel arch, and it sits near the middle of the nail.
Place a small bead of gel near the cuticle, then gently guide it toward the free edge and let gravity do the work.
For shorter nails, place the apex closer to the middle of the nail.
A common beginner trap is trying to force the gel into shape with the brush.
Builder Gel Curing Time and Avoiding Beginner Mistakes
Curing is where beginners often run into avoidable problems. Follow the cure time listed on the bottle, and remember that cure times vary by product and lamp, so verify the result.
Match the Lamp to the Gel Before You Start
Builder gels cure at a specific wavelength, so confirm your lamp matches the gel's instructions. Check three things before your first session:
- Wavelength: Confirm the lamp's stated wavelength matches the gel's instructions.
- Power and placement: A higher-wattage lamp cures faster, but only if your hand sits fully inside it. Keep the nail flat and centered, and do not let fingertips hang out the open end.
A quick test: cure a thin bead of gel on a clear plastic tip or a piece of foil, then press it with a cuticle stick. If it smears or feels rubbery, the lamp and gel are not pairing correctly.
Cure in Thin Layers and Check for a Full Cure
Thin layers cure more evenly and lift less. After each cure, the surface should feel hard, not tacky. Some builder gels leave a sticky layer that wipes away with cleanser, but the gel underneath should be solid.
If the gel stays soft, do not add more product on top. Remove it, check your lamp, and start again.
Prevent Allergies: Keep Uncured Gel Off Your Skin
Allergy prevention matters. Keep skin contact with uncured gel to a minimum. Good habits include:
- Keep uncured gel off your cuticles, sidewalls, and skin. If gel touches skin, wipe it off immediately with a clean brush or a lint-free wipe before curing.
- Never cure gel that has flooded onto the skin.
- Work one nail at a time and keep your brush clean so you are not dragging gel onto the skin.
- If you notice itching, redness, or swelling, stop using the product and talk to a doctor. Do not try to "push through" a reaction.
Keeping acetone and lint-free wipes nearby makes cleanup faster.
Troubleshoot the Most Common Beginner Problems
Most beginner failures fall into a short list. Here is what each one looks like and how to fix it:
- Flooding the cuticles: You placed too large a bead or held the brush too close to the skin. Use a smaller bead, start slightly away from the cuticle, and let the gel flow toward it rather than pushing it there.
- Uneven apex: The bead was placed too far forward or too far back. Rebalance by adding a small bead at the stress area and letting it settle before curing.
- Bubbles: Usually from stirring the gel or dragging the brush. Do not shake the bottle; roll it between your palms. Place the gel with a light touch and avoid whipping the brush.
- Heat spikes: A warm sensation during cure can occur with thicker layers. Use thinner layers, cure in shorter increments, and pull your hand out briefly if it gets hot.
- Lifting: Often linked to prep or under-curing. Recheck your dehydrator step, avoid touching the nail plate after prep, and confirm a full cure before moving on.
- Gel that runs before curing: The formula is too thin for your technique or the room is warm. Work one nail at a time, tilt the finger so the gel settles where you want it, and consider a thicker formula if it keeps running.
Booking a Fitting Or Stocking Your Next Builder Gel Kit at Nail Flight
Once you understand the basics, build a kit you will use again and again. Stocking a few core items saves you from running out mid-session.
Nail Flight offers professional-grade products for builder gel work. You can browse the Infallible Bottled Builder, which is free of HEMA and TPO and needs no primer. You can also check the Builder Gel Smooth Application Tips: Step-by-Step Guide for more hands-on detail.

Start with a small kit, practice on tips or a practice hand, and add products as your skills grow. Keep notes on what worked, then build from there.
Frequently Asked Questions
Can you apply builder gel at home without a salon lamp?
Builder gel is cured under an LED or UV lamp, so a lamp is required to harden it. Beginners can start with a cordless option such as the Cordless Pro Cure Lamp from Nail Flight, priced at $169.95, which uses motion sensor activation and an HD LCD display to show the timer and preset cure times. Always follow the cure time listed on the gel's packaging, and check that the lamp's wattage and wavelength match the product you are using.
Do I need primer before applying Infallible Bottled builder gel?
No. The Infallible Bottled Builder is listed as requiring no primer. Its formula is free of HEMA and TPO, which is one of the points its listing highlights for a safer application. Prepare the nail by cleaning and dehydrating it, then apply a thin layer and cure it according to the directions.
How do I stop builder gel from flooding the cuticles?
Keep the gel off the skin by applying only thin amounts and placing the bead slightly away from the cuticle area. If gel does touch the skin, wipe it away before curing. Use a small brush and a steady hand, and let the gravity guide the gel toward the free edge. Working on one nail at a time makes this easier for beginners.
What is the best way to remove builder gel safely?
Removal should be gentle and controlled. File the top layer to reduce the thickness, then soak the nail in acetone until the gel softens and can be pushed off with a wooden stick or cuticle pusher. Avoid peeling or prying the gel off, since this can damage the nail plate. Give the nails a rest period afterward and use a nourishing oil to keep them hydrated between applications.