 how-to
How Do You Apply Builder Gel Smoothly?
Last Updated: October 27, 2026
Quick Summary
Apply builder gel smoothly by holding the brush at roughly 15 degrees, placing a small bead just below the cuticle line, and using light floating strokes toward the free edge. Work in thin layers about the thickness of a credit card, then stop touching the gel for 5 to 10 seconds so it self-levels before curing.
- Pick up a grain-of-rice bead for a natural nail and a small pea for an extension.
- Work cuticle to free edge in one direction and avoid back-and-forth strokes.
- Build the apex in thin layers so it looks like a gentle hill, not a speed bump.
- Most builder gels should not exceed about 1 mm per layer before curing.
- Wipe the wet layer and restart with a smaller bead if bumps or flooding appear.
Table of Contents
- How to Prep Nails for Builder Gel
- Step-by-Step: Applying Builder Gel Smoothly
- Builder Gel Application With Nail Forms
- Builder Gel Curing Time and Under-Curing Fixes
- How to Prevent Builder Gel Lifting
- Stock Your Station With Smooth-Application Essentials
- Frequently Asked Questions
How to Prep Nails for Builder Gel
Smooth builder gel starts before the brush ever touches the nail. Most bumps, floods, and lifted edges trace back to prep, not technique.
Nail preparation is the process of cleansing, dehydrating, and priming the natural nail so gel can bond without lifting. Skip a step and the best formula in the world will still peel at the edges.
Here is a prep sequence:
- Shape the free edge and gently push back the cuticle.
- Buff the nail plate to remove shine, then dust off.
- Wipe with a dehydrator to strip oils and moisture.
- Apply a thin coat of nail primer and let it dry fully.
Keep every layer thin. The FDA guidance on cosmetic nail products is a useful reference for what belongs on the natural nail and what does not.
Step-by-Step: Applying Builder Gel Smoothly
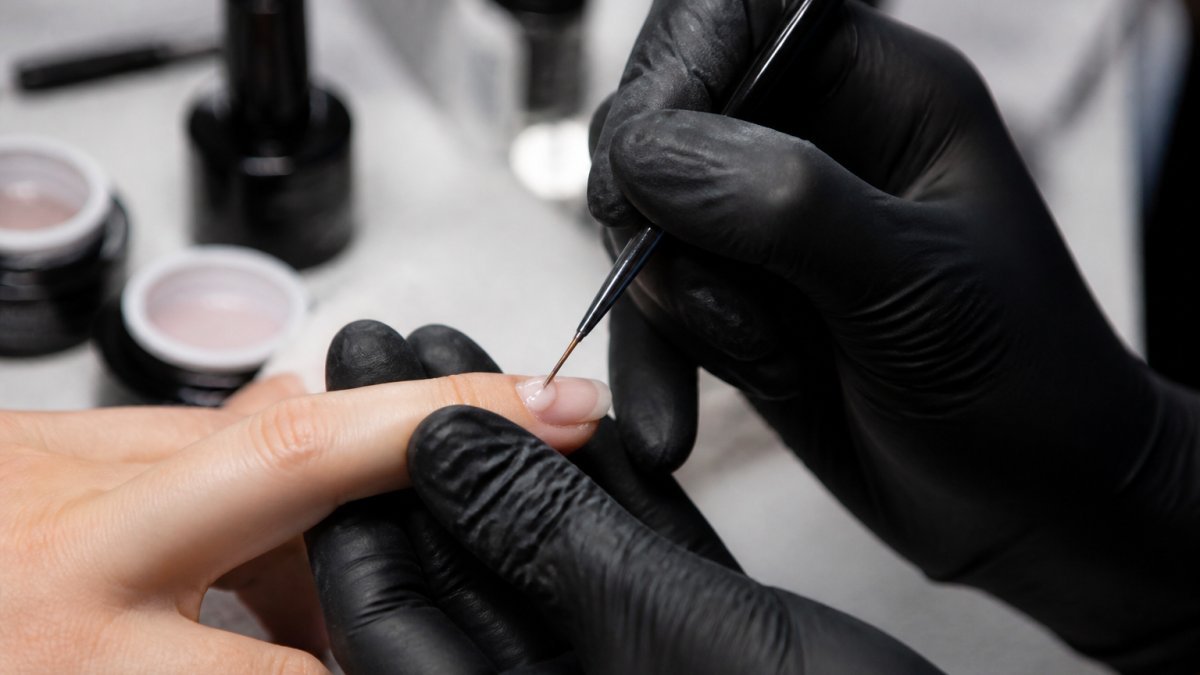
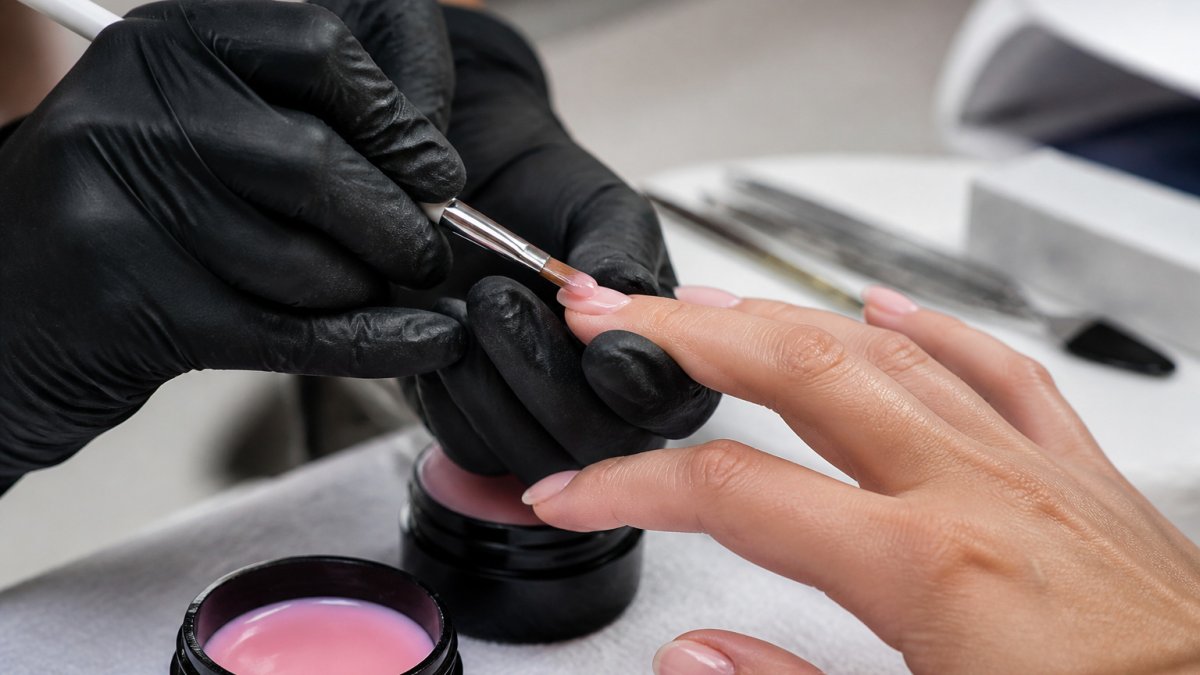
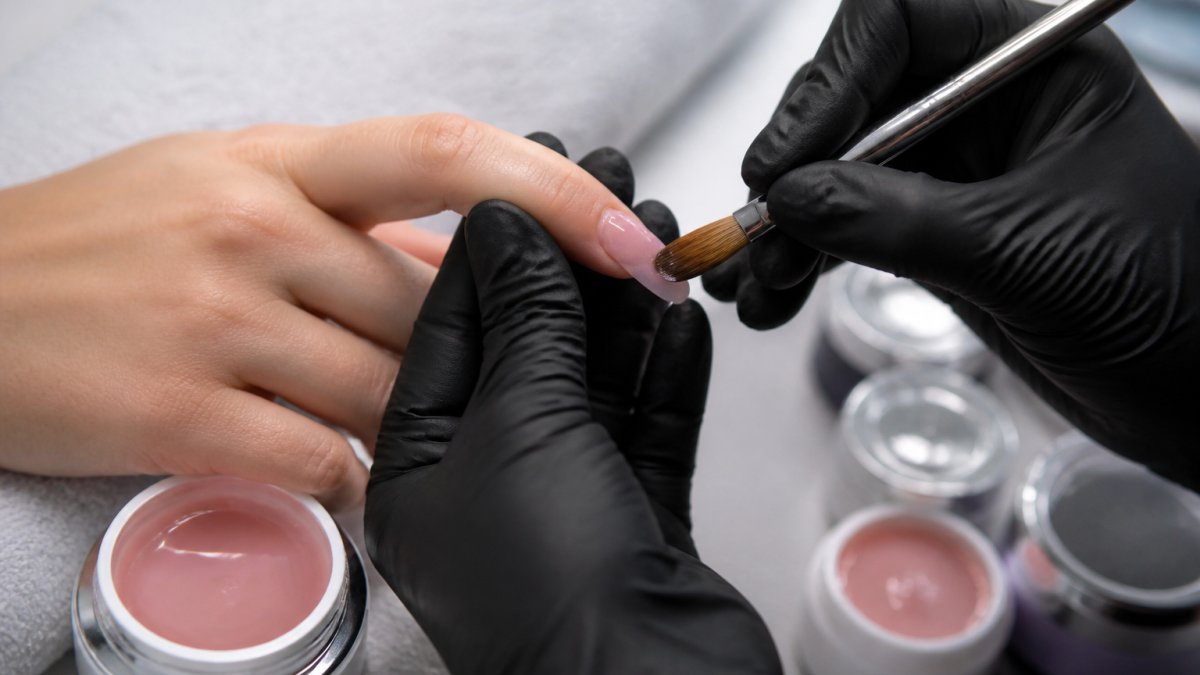
Smooth application comes down to three controls: brush position, gel quantity, and hand movement. Most practitioners find that when those three are dialed in, the gel self-levels into a clean surface with almost no filing. The trick is knowing what each control actually looks like in practice, not just that it matters.
Brush Position: The 15-Degree Rule
Hold the brush at a low angle, roughly 15 degrees to the nail plate, almost flat. The belly of the bristles should rest on the nail, not the tips.
Use light, floating strokes to guide the gel toward the free edge. Think of the brush as a squeegee, not a pen: you are pushing a puddle, not drawing a line.
Gel Quantity: Read the Bead
The bead tells you almost everything. A properly sized bead sits up slightly and holds its shape for a second or two before relaxing.
Apply in thin layers, roughly the thickness of a credit card per coat. Thin layers self-level faster, cure more evenly, and resist lifting. A thick flood feels faster but cures unevenly and almost always leaves a bumpy surface.
Hand Movement and Self-Leveling
Work in a consistent direction, cuticle to free edge, and avoid back-and-forth strokes, which introduce air and ridges. After the bead is placed, stop touching it. Give the gel 5 to 10 seconds to self-level before you assess the surface.
Turn the finger upside down for a few seconds so gravity pulls the gel into a natural curve.
Building a Balanced Apex and Smooth Structure
The apex is the raised curve over the stress area, and it is what keeps the nail strong. Build it in thin layers rather than one thick flood. Place the apex bead at the stress area, let it level, then cure. Repeat for the next layer.
Here are the key application controls and targets for a smooth builder gel surface.
| Control | What to do | Key number or sign |
|---|---|---|
| Brush angle | Hold brush low, belly of bristles on nail | Roughly 15 degrees to nail plate |
| Bead size | Small bead placed just below cuticle line | Grain of rice natural nail, small pea extension |
| Layer thickness | Apply thin layers per coat | About thickness of a credit card |
| Self-leveling wait | Stop touching the bead and let it level | 5 to 10 seconds |
| Stroke direction | Work cuticle to free edge, no back-and-forth | Consistent single direction |
| Apex build | Place apex bead at stress area, level, cure, repeat | Gentle hill, not a speed bump |
Builder Gel Application With Nail Forms
Nail forms give you a scaffold for length and shape, and they change how you place the gel.
Builder gel application with nail forms works best when you keep the bead centered and build toward the free edge. Wipe the form edge clean before curing so the underside stays smooth.
If you are learning form work, practice with a set of forms before you commit to a full set on a client.
Builder Gel Curing Time and Under-Curing Fixes
Builder gel curing time depends on your lamp and the thickness of each layer. Follow the manufacturer's stated cure time, typically 30 to 60 seconds in a UV/LED lamp for a thin layer, longer for a built apex, and never pull the hand early. A tacky or soft center means the layer was too thick or the lamp was too weak.
How to Tell If a Layer Is Fully Cured
A fully cured builder gel layer is hard, non-tacky, and does not flex under light pressure. Press a clean orange stick or the back of a brush handle into the center of the nail. If it leaves an indentation or the surface feels rubbery, the layer is under-cured. Wrinkling, cloudiness, or a soft spot in the middle are all signs the gel did not receive enough energy.
Thickness Limits and Layering
Most builder gels should not exceed about 1 mm per layer before curing. If you need more structure, cure a thin layer first, then add the next. Building a full apex in one thick flood is the most common cause of under-curing, the surface cures hard while the center stays soft, and the nail fails within days.
Lamp Checks and Placement
Place the hand flat and centered under the lamp so all five nails receive even exposure. If your lamp has a reflective floor, use it, it cures the underside of the free edge and reduces lifting. Check bulbs or LEDs every few weeks; output drops gradually and is easy to miss. Our Cordless Pro Cure Lamp features an 86-watt output.

Fixing Under-Cured Gel
If you discover an under-cured layer after the fact, do not file it and apply over it. Remove the uncured or partially cured product with acetone or a soak-off, then re-prep and reapply. Applying fresh gel over a soft layer traps solvent and guarantees lifting.
How to Prevent Builder Gel Lifting
Lifting almost always starts at the edges, and it usually comes back to prep or skin contact. Keep gel off the cuticle and sidewalls. Any product touching skin will lift first.
- Dehydrate the nail plate every time.
- Keep layers thin and even.
- Cap the free edge for extra hold.
Fixing Uneven, Bumpy, or Flooded Application
Bumps mean too much gel or too much brush pressure. Flooding means the bead sat too close to the cuticle. For both, wipe the wet layer and start again with a smaller bead.
If the gel will not self-level, it may be too cold or too thick. Our improved formulas, like the Infallible Bottled builder, are designed for lasting durability. Browse the full builder gel lineup to match your workflow.

Stock Your Station With Smooth-Application Essentials
Smooth builder gel is a skill. Thin layers, controlled beads, and full cures are part of the application process.
Build your kit around a brush, a cure lamp, and a formula engineered to prevent lifting. At Nail Flight, our gel builder line is made for superior adhesion and a smooth, resilient base that extends wear time.
Get started with Nail Flight.
Frequently Asked Questions
How do you stop builder gel from flooding the cuticles?
Keep the gel bead small and place it at the center of the nail plate, not near the cuticle. Use a liner brush to drag product toward the cuticle in a thin layer, stopping about 1 mm short of the skin. Let the gel self-level before curing, and turn the hand upside down briefly so gravity pulls product away from the cuticle. Flooding usually comes from too much product near the edge, so control the bead size first.
How thick should builder gel be applied?
Apply builder gel in thin layers, usually two to three, rather than one thick coat. Each layer should be thin enough to self-level without pooling. Build the apex at the stress area with a slightly thicker bead, then feather it toward the free edge and cuticle. A structure that is too thick cures unevenly and lifts at the edges, while one that is too thin lacks strength and chips.
Why does builder gel lift or chip?
Lifting and chipping usually trace back to prep and curing. Oily or moist nail plates, missed dehydration, or primer applied unevenly weaken adhesion. Under-curing leaves the base soft, so it peels at the edges. Skipping the free edge seal, applying gel over cuticle residue, or using a weak lamp also cause failures. Prep thoroughly, cure fully, and cap the free edge to prevent builder gel lifting.
Can you just brush on builder gel?
Yes, bottled builder gel is brushed on like a thick polish, but technique matters. Load a small bead, place it at the center of the nail, and use a liner or extension brush to spread it in thin, even strokes. Let the gel self-level for a few seconds before curing. Brushing it on too thick or working it too long causes streaks, so keep strokes minimal and controlled.