 how-to
Builder Gel Smooth Application Tips: Step-by-Step Guide
Quick Summary
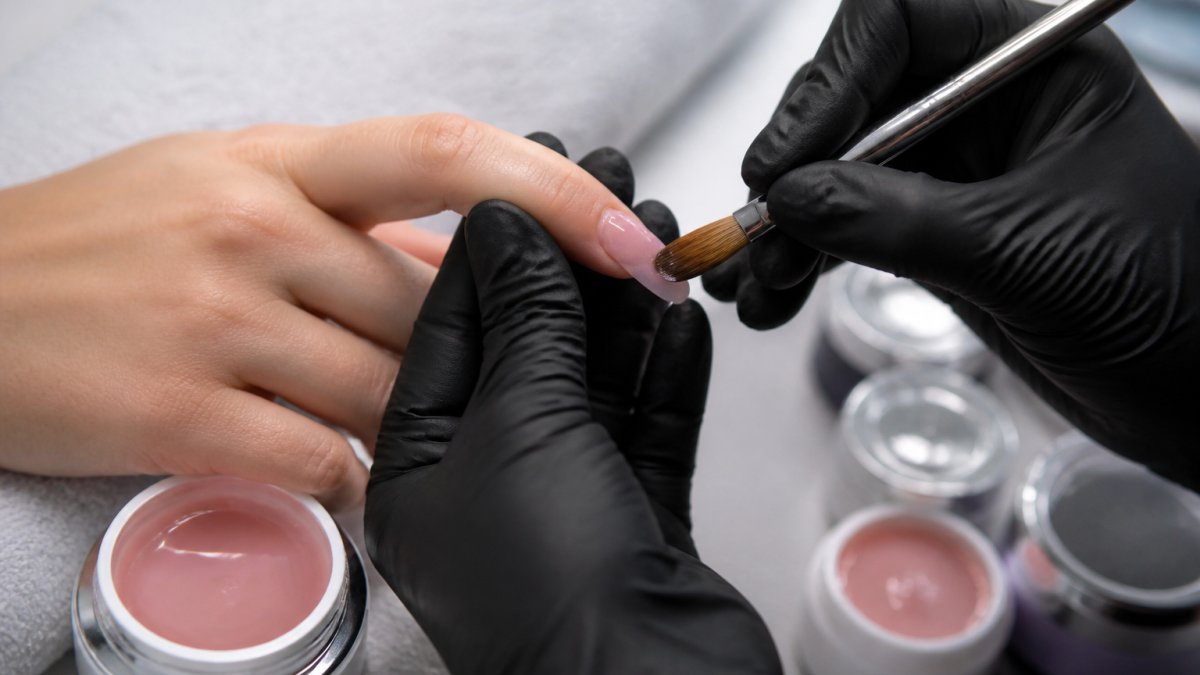
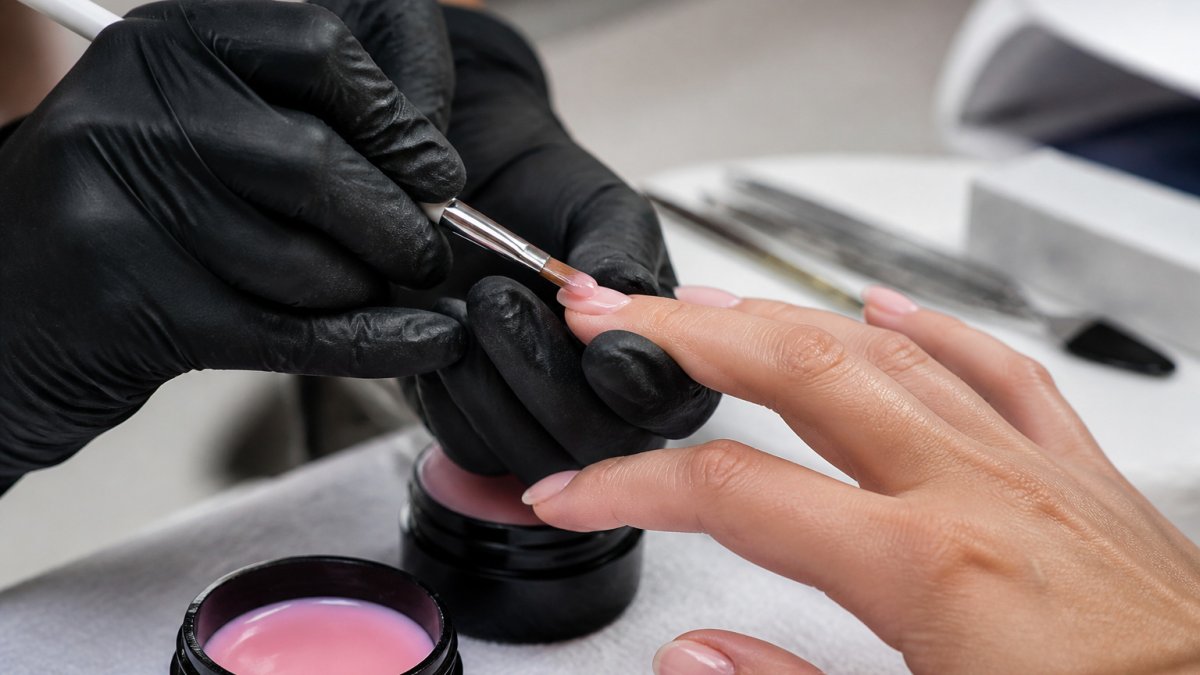
A smooth builder gel finish starts with prepping the nail: shape the free edge, buff the plate lightly, and wipe away all dust and oil. Then apply thin, controlled layers, leveling each one before curing. Keep the brush nearly dry so the gel spreads instead of dragging.
- Shape the free edge with a 180-grit file, then move to finer grits.
- Buff the nail plate lightly with a 240 to 320 grit buffer to remove shine.
- Apply a thin slip layer first; skipping it often causes lifting and ridges.
- Use small beads and let the gel self-level before curing to avoid lumps.
- Confirm the lamp wavelength and cure time match the gel's instructions.
Table of Contents
- Prepping Natural Nails for a Smooth Builder Gel Base
- How to Apply Builder Gel in Thin, Controlled Layers
- Leveling Builder Gel for a Smooth Finish Without Streaks
- Troubleshooting Lifting and Lumpy Builder Gel Results
- Building Your Smooth Builder Gel Routine at Your Station
- Frequently Asked Questions
Prepping Natural Nails for a Smooth Builder Gel Base
Last Updated: October 28, 2026
A smooth builder gel finish starts before any product touches the nail. Nail Flight built this guide around builder gel application, starting with a clean, evenly filed nail surface.
Filing and Buffing the Nail Surface
- Shape the free edge first with a 180-grit file, then move to finer grits.
- Buff the nail plate lightly with a 240 to 320 grit buffer to remove shine.
- Wipe away all dust with a lint-free wipe and a dehydrator or alcohol-based cleanser.
Cleaning Up the Cuticle Line
A cuticle bit works well for detail work along the sidewalls and cuticle area. Our Cuticle Bit lets you clean up the line precisely without scraping the natural nail. Pair it with the Bit Cleaner Brush to clear debris from your tools between clients.
How to Apply Builder Gel in Thin, Controlled Layers
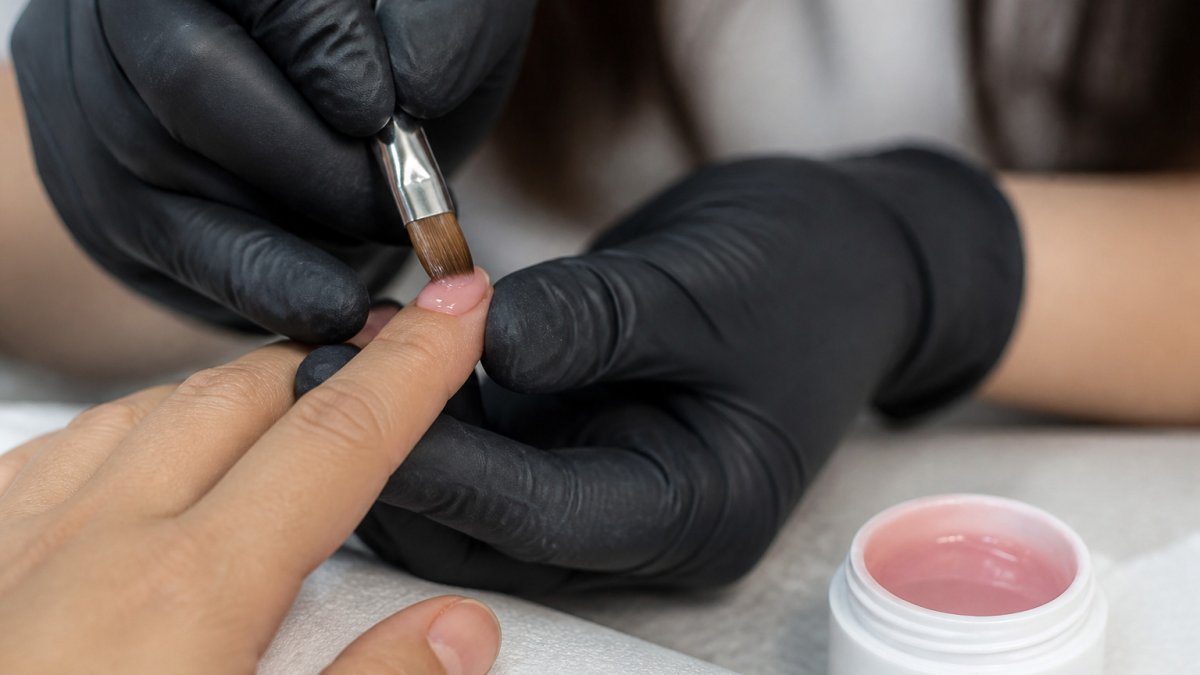
Apply with light, steady strokes, keeping the brush nearly dry so it spreads the product rather than dragging it. You can find the Infallible Bottled Builder gel used throughout this technique.

Applying a Thin Slip Layer
Skipping the slip layer and applying thick gel right away often leads to lifting and visible ridges.
Controlling Gel Quantity and Building the Apex
A useful habit is to check the nail from the side at eye level after each layer. Small bumps are easier to fix before curing.
Leveling Builder Gel for a Smooth Finish Without Streaks
Leveling decides whether the finished nail looks glassy or streaky. It depends on three variables, product viscosity, room and nail temperature, and working time, and understanding them lets you adapt to any builder gel instead of memorizing one routine.
Reading Product Viscosity and Self-Leveling Behavior
Viscosity describes how thick a gel is and how quickly it flows under its own weight. Most builder gels fall into three behavior groups:
- Low-viscosity (thin) gels flow quickly and self-level within a few seconds. They are forgiving on flat nails but prone to flooding the cuticle and sidewalls if you overload the brush. Work in smaller beads and keep the hand level longer.
- Medium-viscosity gels hold a bead but still settle into brush marks within roughly 5-15 seconds. These are the most common all-around choice for natural nail overlays.
- High-viscosity (thick) gels barely move on their own. They are useful for building apex and structure on longer nails, but they hold ridges and require more deliberate placement and filing.
Quick shop test: place a small bead on a glossy practice tip and watch for 10 seconds. A flat puddle means thin; a held dome means thick. That tells you how much manual leveling you will need.
Using Gravity, Hand Position, and Working Time
Working time matters as much as angle. Most builder gels self-level immediately but stop flowing once they start to cure under ambient light. You typically get roughly 20-60 seconds of useful working time per bead. Brushing after the gel starts to set drags it and creates streaks, place the bead, let it settle, then do one light refining stroke.
Lamp Compatibility and Safe Curing
- Match the lamp to the gel. Builder gels are formulated for a specific wavelength range, most commonly 365-405 nm for UV/LED-compatible products. A lamp that does not emit in the gel's recommended range will under-cure even if you leave the hand in longer. Check the gel manufacturer's instructions for the recommended wavelength and cure time, and avoid mixing lamp and gel brands unless the instructions explicitly allow it.
- Respect the stated cure time and lamp wattage. Cure times are written for a specific lamp output. A lower-wattage lamp needs the longer end of the manufacturer's range; a higher-output lamp may need the shorter end. Underexposed gel stays soft, dulls, and lifts; overexposure can create heat spikes and discomfort.
Check your gel's instructions before choosing a lamp.
Troubleshooting Lifting and Lumpy Builder Gel Results
| Symptom | Likely cause | Fix |
|---|---|---|
| Lifting near the cuticle | Gel applied too close to skin, or nail not fully dehydrated | Keep a hairline gap at the cuticle; re-dehydrate and avoid touching the plate after cleansing |
| Lifting at the sidewalls | Gel flooded into the sidewall, or sidewall not filed clean | Clean the sidewall line with a detail bit; keep product off the skin |
| Peeling from the free edge | Free edge not shaped and buffed enough, or oil left on the surface | Shape and buff the free edge; wipe with dehydrator before the slip layer |
| Lumpy or domed surface | Layers too thick, or gel not leveled before curing | Apply thinner beads; hold the hand to let the gel self-level before curing |
| Streaks or drag marks | Brush too loaded, or strokes went back over gel that had started to set | Keep the brush nearly dry; place the bead and let it settle instead of over-brushing |
| Bubbles in the cured gel | Air whipped into the gel by stirring, or bead dropped from too high | Roll the bottle instead of shaking; place the bead close to the nail |
| Ridges after curing | High-viscosity gel that did not self-level, or uneven bead placement | Use a medium-viscosity gel for overlays; refine with a 180-grit file before top coat |
| Heat spike during cure | Too much product curing too fast | Build in thinner layers; use the lamp's low-heat setting if available |
| Dull or soft cured surface | Under-curing from lamp/gel mismatch or short cure time | Confirm wavelength and cure time against the gel instructions; check lamp bulbs |
A Diagnostic Order That Saves Time
- Prep and dehydration. Was the nail fully buffed, dust-free, and dehydrated? Oil and dust are the most common causes of lifting.
- Application placement. Did the gel touch the cuticle or sidewall? Was the slip layer thin and fully cured?
- Layer thickness and leveling. Were the beads small enough to self-level? Was the hand held to let gravity work?
- Curing. Did the lamp match the gel, and was the cure time followed?
For a fuller walkthrough of smoothing techniques, read our companion guide on how to apply builder gel smoothly.
Building Your Smooth Builder Gel Routine at Your Station
- Lay out your file, buffer, dehydrator, brushes and lamp before you start.
- Prep, clean the cuticle line and dehydrate every nail.
- Apply a thin slip layer and cure it.
- Build thin layers, leveling each one before curing.
- Check the surface from the side, fix any bumps, then finish.
Frequently Asked Questions
How do you apply builder gel smoothly?
Start with a clean, dehydrated natural nail and file and buff the surface until it is evenly matte. Apply a thin slip layer, then place a small, controlled amount of builder gel in the center of the nail and push it toward the apex with a light brush stroke. Keep the gel away from the cuticle and sidewalls, use gravity to level the product by holding the finger with the nail angled down, and cure according to your lamp's instructions. Thin, even layers prevent the lumps and streaks that cause extra filing.
Should you use a thin slip layer when applying builder gel?
A thin slip layer helps the builder gel spread evenly and makes it easier to self-level, which reduces brush marks and bumps. Apply it sparingly so it does not pool at the cuticle or sidewalls. Cure it fully before adding the builder gel, following the timing recommended for your lamp. Skipping the slip layer often leads to a thicker, uneven application that takes longer to smooth and can increase the risk of lifting.
Why does builder gel lift after application?
The most common causes of lifting are incomplete nail prep, oil or moisture left on the nail plate, applying product too close to the cuticle or sidewalls, and skipping the cleanup of the cuticle line. Overly thick application and under-curing can also weaken adhesion. Filing and buffing the surface to a uniform matte finish, dehydrating the nail, and keeping product off the skin all help the builder gel bond securely to the nail.
Do you need to file builder gel after curing?
Light filing after curing is often needed to refine the surface, remove any minor bumps, and smooth the transition to the cuticle area. Use a fine-grit file and light pressure, and avoid over-filing, which can thin the product and weaken the structure. A smooth, well-leveled application usually requires much less filing, which is one reason controlling product quantity and leveling during application matters.