 how-to
9 Tips for Long Lasting Gel Manicures at Home
Last Updated: November 1, 2026
Quick Summary
Long lasting gel manicures depend mostly on preparation, not the polish itself. Clean, dehydrate, and push back cuticles on each nail, then apply thin, fully cured layers and cap the free edge. Matching your lamp to the product and following the cure time for each layer also prevents most early lifting and chipping.
- Wipe each nail with a lint-free pad and cleanser or isopropyl alcohol to remove oils.
- Dehydrate every nail before applying base coat to prevent lifting.
- Apply thin layers and cure each one fully before adding the next.
- Cap the free edge on every nail to stop tip wear and chipping.
- Match the lamp to the product's recommended wavelength and replace aging lamps.
Table of Contents
- Cleaning and dehydrating the nail plate
- Apply Base Coat, Color and Top Coat in Thin, Even Layers
- Cure Each Layer Correctly With a Compatible Lamp
- Why Gel Polish Lifts and How to Prevent It
- How Long a Gel Manicure Lasts and How to Make It Last Longer at Home
- Booking Your Next Set: Choosing the Right Builder Gel and Supplies
- Frequently Asked Questions
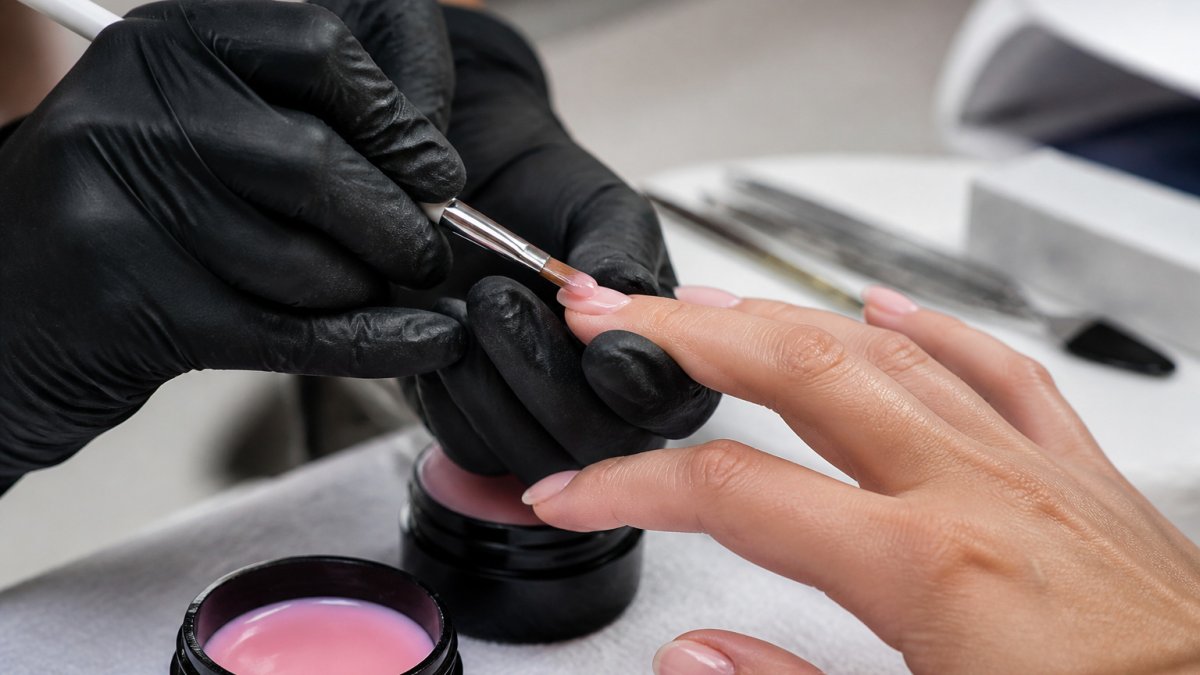
Long-lasting gel manicures start long before the lamp turns on. Most lifting and chipping traces back to how the nail was prepared, not to the polish itself. Even the best gel builder needs a clean, dry, properly prepped nail to bond well.
Gel polish needs a clean, oil-free surface to grip. Skip the prep, and the first sign of trouble shows up within days as lifting near the cuticle.
Cleaning and dehydrating the nail plate
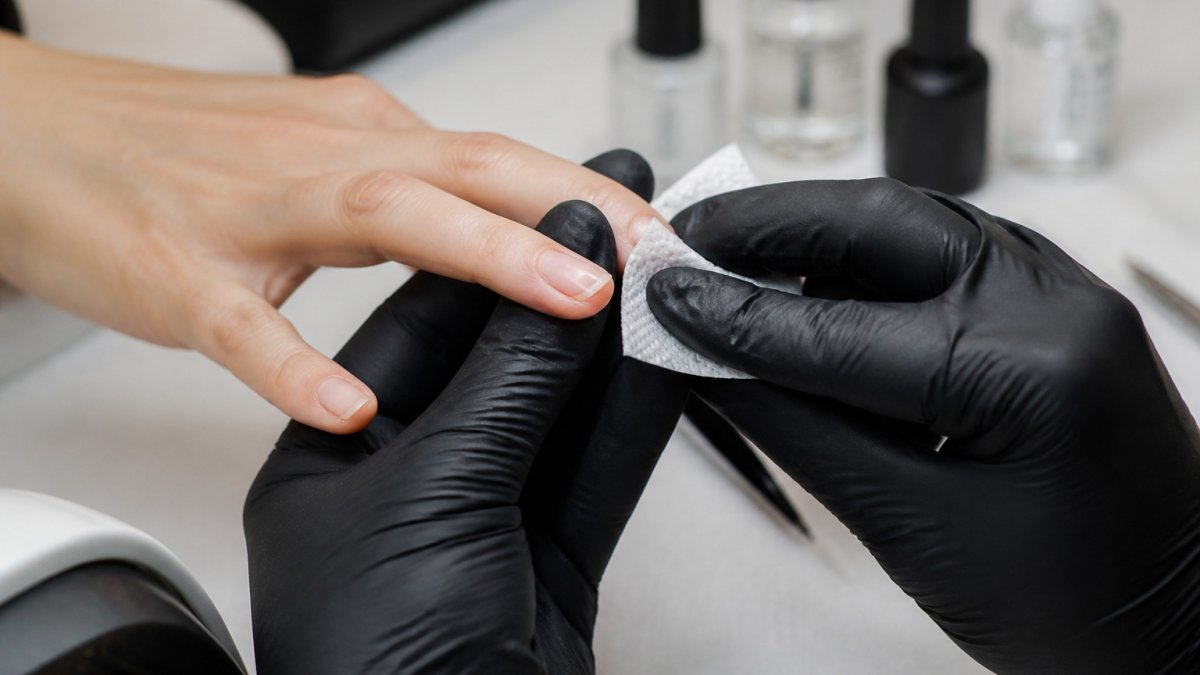
Wipe each nail with a lint-free pad and a nail cleanser or isopropyl alcohol. This removes oils from your hands and any leftover residue from lotion or the previous manicure.
Work on dry nails. Moisture trapped under the gel is one of the most common reasons polish lifts. For more detail on building up nails after prep, read the beginner guide to self-leveling builder gel.
![Close-up of a manicurist's hands wiping a natural nail plate with a lint-free pad before gel application under bright salon lighting | section:Start With Proper Nail Preparation]
Pushing back cuticles without cutting into skin
Soften cuticles with a cuticle oil first. Then gently push them back with an orangewood stick. Keep the pusher at a low angle so you lift the cuticle without cutting the living tissue beneath it.
Avoid trimming cuticles too aggressively. Removing too much cuticle leaves the skin exposed, and gel can creep onto it and lift early.
Apply Base Coat, Color and Top Coat in Thin, Even Layers
Thin layers cure more evenly and bond better than thick ones. A thick coat can stay soft underneath while the top looks set, which causes wrinkling and peeling later.
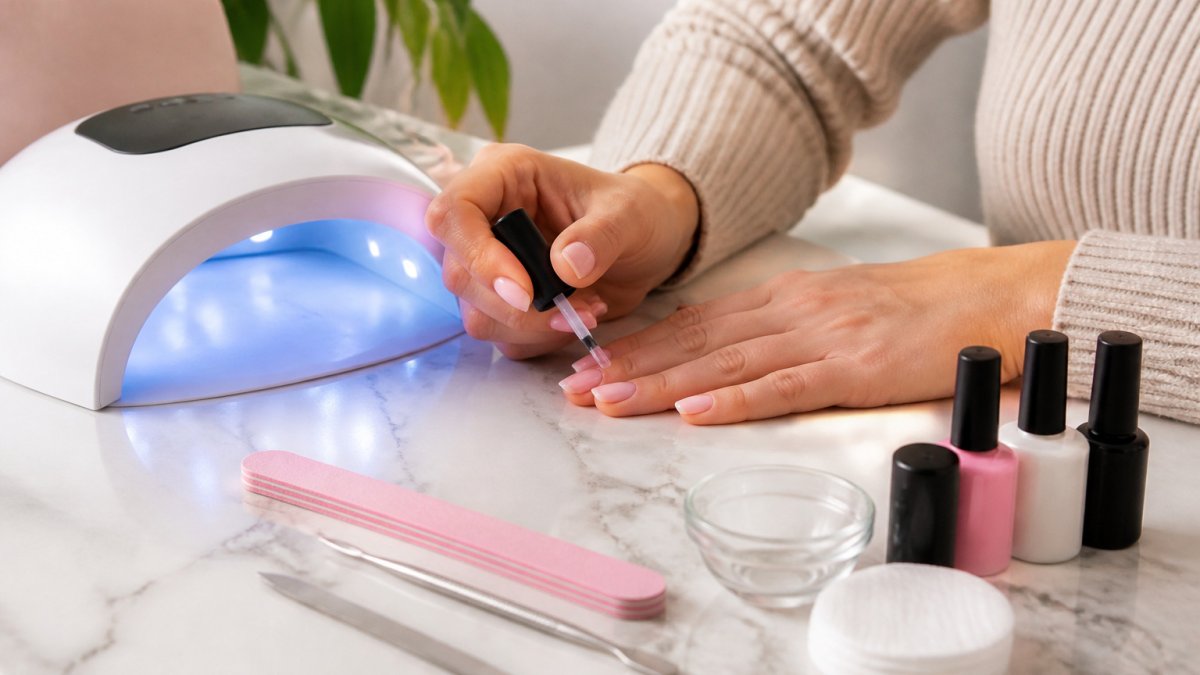
Apply one thin coat at a time. Cure each layer before adding the next. Use a base coat as your first layer to help the color and top coat grip the nail. You can view the Base Coat to see how it is applied as your first layer.

Capping the free edge to stop chipping
Run your brush along the tip of each nail to seal the free edge. This small step blocks the tip-wear that causes most chipping. Capping the edge can help extend wear.
Cure Each Layer Correctly With a Compatible Lamp
Curing is where a gel manicure either locks in or fails quietly. Liquid gel does not dry by evaporation; it hardens only when the photoinitiators in the formula absorb light at the right wavelength for long enough. If the lamp and the product do not match, the surface can look and feel dry while the layer underneath stays soft. That is the setup for lifting, peeling, and early chipping days later.
Match the product to the lamp, not the other way around
Start with the product's instructions, not the lamp's preset buttons. You can find a lamp built to match these curing needs in our Cordless Pro Cure Lamp. Most gel systems are formulated for a specific wavelength range, commonly in the ultraviolet-A range or in the visible blue-light range for LED lamps. A lamp that emits outside the product's recommended range can under-cure even when you run it for the full time.
- Check the label or safety data sheet for the recommended wavelength and cure time.
- Use a lamp whose emitters match that recommendation; do not assume any LED lamp cures any gel.
- Replace lamps or bulbs per the manufacturer's schedule. Emitter output drops over time, and a weak lamp under-cures a full set.
Avoid under-curing and over-curing
Under-curing leaves the gel soft, so it peels, smudges, or wrinkles. Over-curing can make the gel brittle and cause a heat spike that stings. Both are avoidable with a consistent routine.
- Follow the listed cure time for each layer. Thin layers cure faster and more evenly than thick ones.
- Cure the base coat, each color coat, and the top coat separately; do not shortcut by curing several thick layers at once.
- If you feel heat during curing, pull your hand out briefly, then finish the cycle. A heat spike is a sign the layer is too thick or the lamp is too intense for that product.
Recognize when a cure problem is a safety problem
Uncured gel on the skin can cause irritation, so keep product off the skin around the nail.
Cure problems can show up first as lifting near the cuticle or free edge rather than as an obviously wet nail. If a set starts failing within a few days, review lamp compatibility and cure time before blaming the polish.
The article's key cure points are easier to scan in a quick table.
| Cure issue | Cause | Fix |
|---|---|---|
| Gel feels dry but stays soft | Lamp does not match product wavelength | Check label and lamp compatibility |
| Under-cured layer | Lamp weak or cure time too short | Follow listed cure time; replace aging lamps |
| Heat spike while curing | Layer too thick or lamp too intense | Pull hand out briefly, then finish the cycle |
| Brittle or stinging finish | Over-curing | Stick to listed cure time per layer |
| Nail at lamp edge not curing | Nail outside reflective chamber | Keep every nail fully inside the lamp |
| Irritation near nail | Uncured gel on skin | Keep product off skin; stop and seek advice if irritation appears |
Why Gel Polish Lifts and How to Prevent It
Lifting often comes from oils, moisture, thick application, or skipped prep.
- Dehydrate every nail before base coat
- Keep polish off the skin around the nail
- Apply thin, fully cured layers
How Long a Gel Manicure Lasts and How to Make It Last Longer at Home
There is no single wear number that applies to every gel manicure. Wear depends on the product system, how the nail was prepped, the shape and condition of the natural nail, and daily habits. Wear depends on many factors, so results will vary from set to set. Treat any specific number as an expectation, not a guarantee.
What actually shortens wear
Most early failure traces back to a handful of causes. Matching the symptom to the cause is faster than adding more top coat.
- Lifting near the cuticle: usually oil, moisture, or product on the skin during application. Revisit dehydration and keep gel off the surrounding skin.
- Lifting or peeling at the free edge: often a missed cap of the free edge or tip wear from daily tasks. Cap the edge on every layer and wear gloves for wet work.
- Bubbling or wrinkling: thick layers or incomplete curing between coats. Apply thinner coats and cure each layer fully.
Protect the set during everyday tasks
- Wear gloves for dishes, cleaning, and prolonged water exposure. Hot water and detergents soften the gel and swell the nail plate.
- Avoid using nails as tools to open cans, scrape labels, or pry lids.
- Keep hands moisturized with cuticle oil and hand cream, focusing on the skin around the nail rather than soaking the nail plate.
Plan for safe removal and recovery
Long wear is only worth it if the natural nail stays healthy. Remove gel by soaking in acetone-based remover per the product instructions, then gently push off softened product. Do not scrape or peel cured gel off the nail plate. After removal, give nails a recovery period with cuticle oil and a strengthening routine before the next set. If nails feel thin, bendy, or sensitive, wait before reapplying.
Booking Your Next Set: Choosing the Right Builder Gel and Supplies
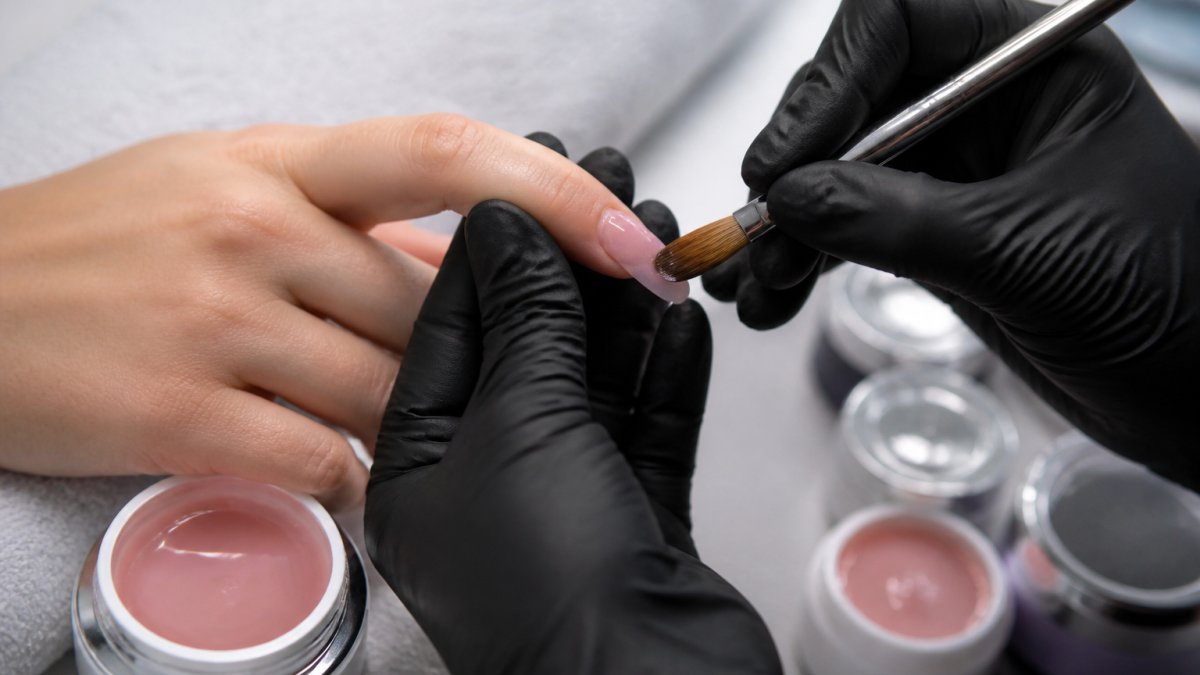
Choose a builder gel that suits your nail type and the look you want. The Infallible Bottled Builder is free of HEMA and TPO and needs no primer, which makes it a gentle, straightforward option. You can buy the Infallible Bottled Builder directly from its product page. You can compare it directly on the Sensational Rubber Base product page.


For your base and top layers, the Base Coat is priced at $14.95.
Frequently Asked Questions
How long should a gel manicure last?
A well-applied gel manicure can last several weeks when the nail is properly prepped, each layer is thin and even, the free edge is capped, and each layer is fully cured. Wear time drops quickly when lifting starts near the cuticle or tip, so early attention to prep and application matters most. Natural nail growth will push the gel away from the cuticle over time, which is normal and not a sign of a failed application. Lifestyle factors such as frequent hand washing, household chores and picking at the polish also shorten wear time.
Why does gel polish lift or peel off?
Lifting usually comes from oil, moisture or dust left on the nail plate, a builder or base layer applied too thick, or polish sealed over the cuticle or sides of the nail. Skipping the cleanser and dehydrator step leaves a surface where gel cannot bond well. Under-curing a layer also weakens adhesion, so each coat should be fully cured before the next one goes on. Using a base coat and builder gel designed for strong adhesion, such as the Infallible Bottled builder at $18.95, can help support a durable base when applied correctly.
How do I get my at-home gel nails to last longer?
Focus on four habits: thorough prep with isopropyl alcohol or a nail cleanser, thin even coats with no pooling near the cuticle, capping the free edge with each layer, and curing each coat for the time specified by your lamp and product. Keep the nail plate free of oils from hand lotion before you begin. After the manicure, wear gloves for chores, avoid using nails as tools, and moisturize cuticles daily with cuticle oil to keep the surrounding skin flexible.
Is it possible to overcure gel polish?
Yes. Overcuring can make gel brittle, cause discoloration in some products and increase heat discomfort during the lamp cycle. Undercuring leaves the gel soft, which increases lifting and chipping. Always follow the cure time recommended for your specific lamp and product, and avoid leaving the hand in the lamp longer than instructed. A lamp with a clear display showing timer and preset cure times, such as the Cordless Pro Cure Lamp at $169.95, makes it easier to follow the correct schedule for each layer.
Ready to build longer-lasting sets? Explore Nail Flight's builder gels, base coat, and Cordless Pro Cure Lamp to get the supplies you need for every appointment.